This past weekend was one of the first that I seemed to actually have some free time to relax at home in Dallas. No other weddings going on, no thank you cards to write, no gifts to exchange... surely I would give myself a minute to unwind after getting home from the road. But no, I talked Karson into making a new headboard for our bedroom instead. Crazy. I know.
We absolutely adore our wood headboard my brother made a few years back, but I was excited for a more polished new and exciting look for the room. So we moved the old headboard to the guest room for our visitors to enjoy and got started on our new project.
We absolutely adore our wood headboard my brother made a few years back, but I was excited for a more polished new and exciting look for the room. So we moved the old headboard to the guest room for our visitors to enjoy and got started on our new project.

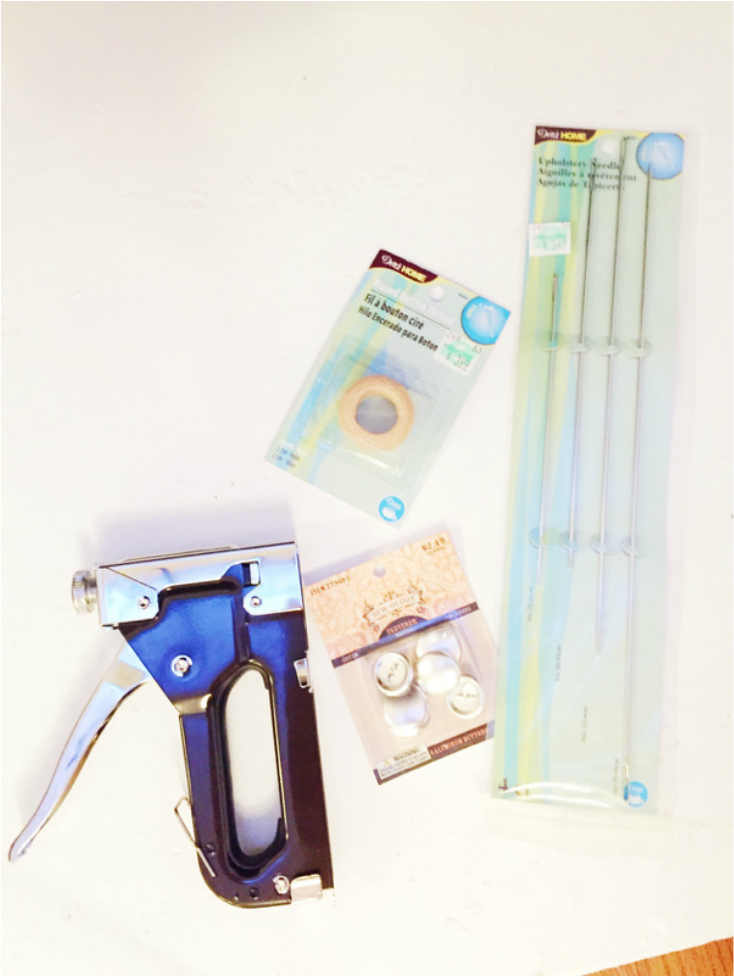
We began by gathering all of the supplies needed as shown above:
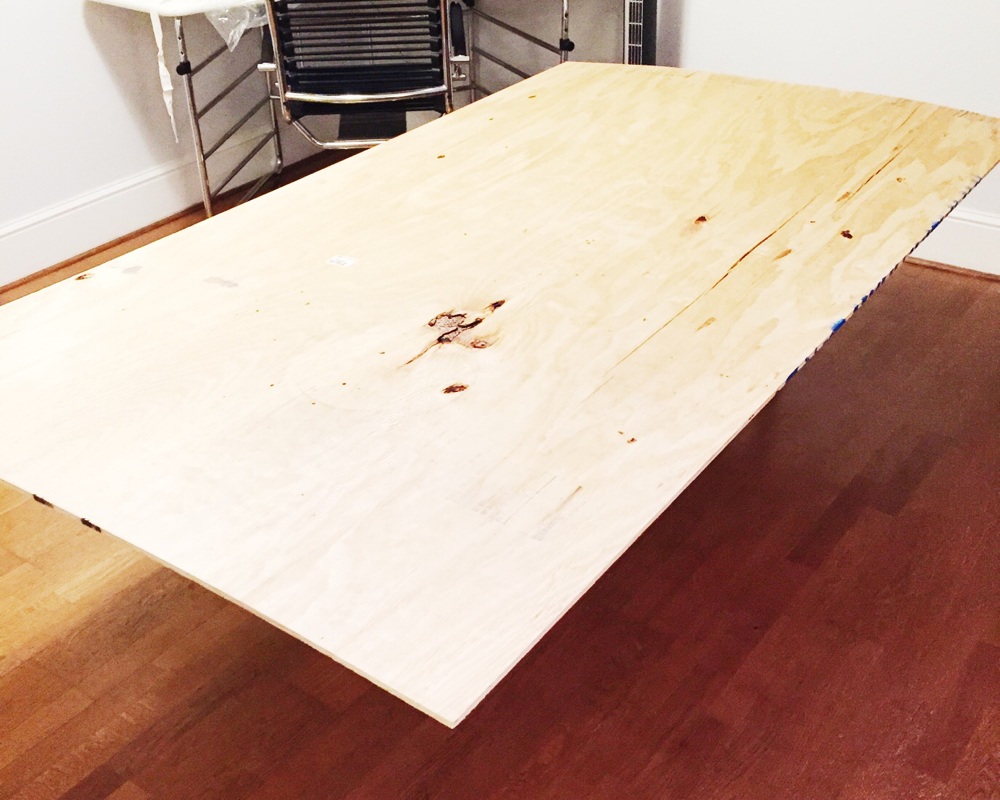
- 1/2 inch thick plywood board from Home Depot. 4X7 feet to fit our King size bed. Ended up costing us about $17.
- 2 Full Mattress Toppers from Walmart. Much cheaper than buying foam. On sale for $17 each.
- A pack of upholstery needs from Hobby Lobby. $5.50
- Waxed Thread from Hobby Lobby. $2.50
- Staple gun from Hobby Lobby. $10.00
- 7/8" Button covering kits from Hobby Lobby. $3.50. Plus 3 refills at $2.50 each.
- Nailhead trim not pictured was from Joann's. $21.00, but again used a 50% off coupon to save.
- 3 yards of cheap fabric just to staple on to keep the foam in place from Hobby Lobby. $10 with coupon.
- The 3 yards of navy fabric we used from Hancock Fabrics. Got a 50% off coupon online which brought the total to $17.00.
Karson was surprisingly not very resistant when I brought up the idea of making a headboard, probably because he got to use his tools.. He ended up taking over a lot of the steps of the project. I finally had to step in and tell him to butt out so I could actually do something ;) My husband can be such a good sport with all of my projects, but it is rare when he gets as into them as I do..
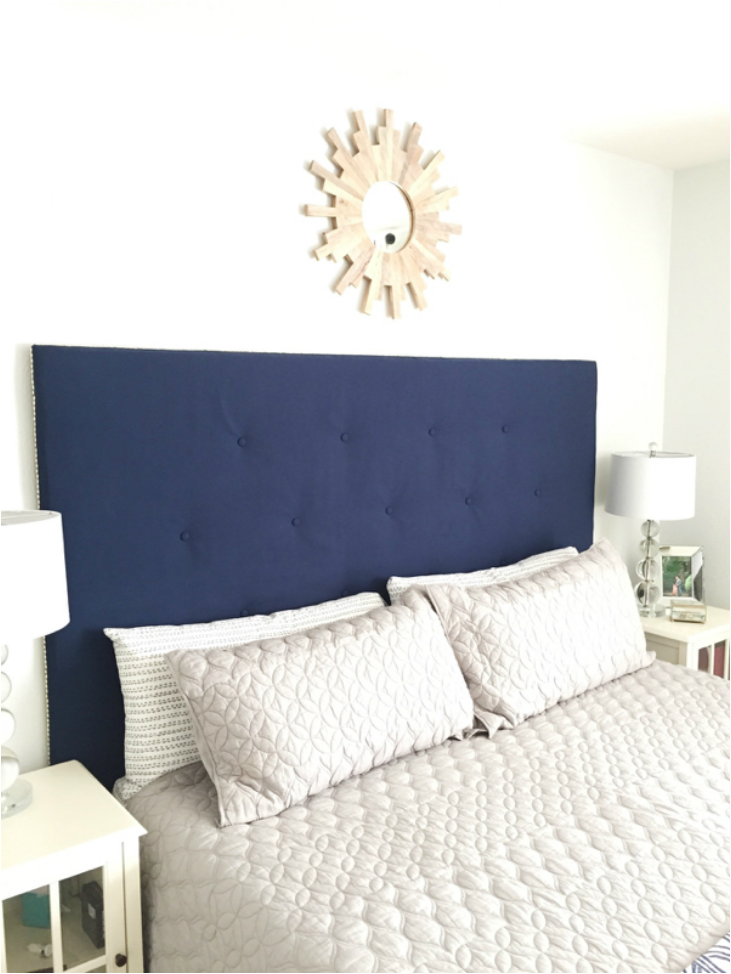
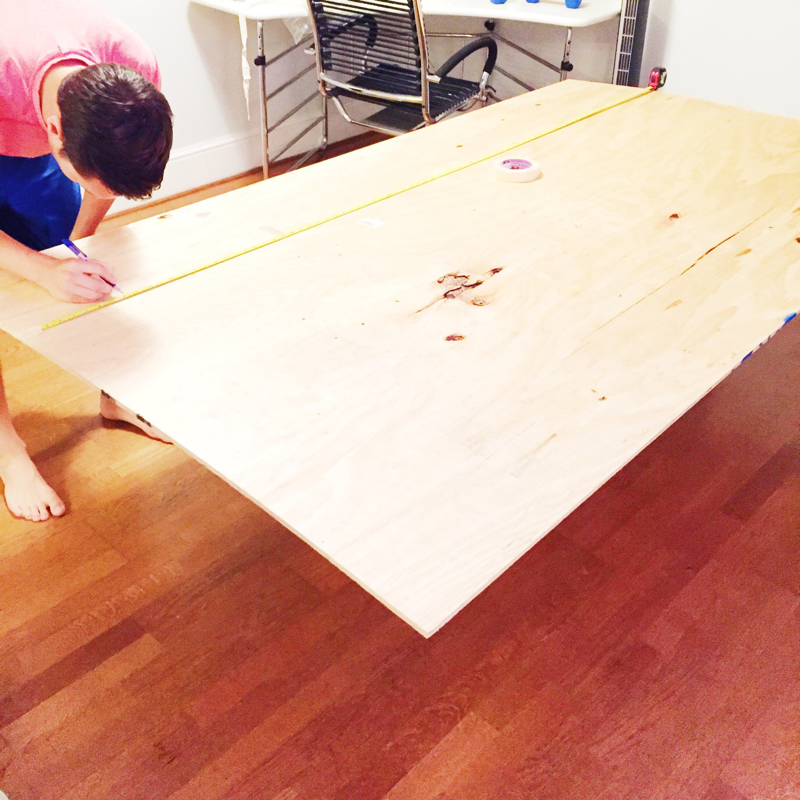
He started by measuring out where we wanted the buttons on the headboard above. I decided to do three rows with the top being 4 buttons, the middle being 5 and the bottom being 4. Karson marked the spots to drill and we went forward from there.
He started by measuring out where we wanted the buttons on the headboard above. I decided to do three rows with the top being 4 buttons, the middle being 5 and the bottom being 4. Karson marked the spots to drill and we went forward from there.
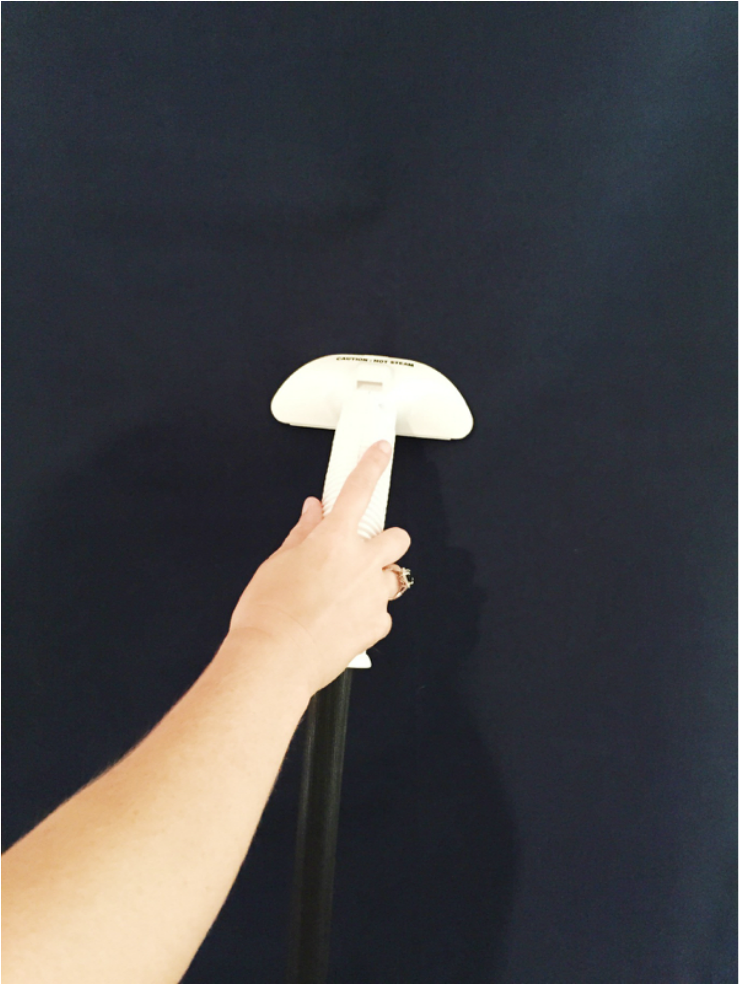
Be sure to steam or iron the fabric before putting on to staple!

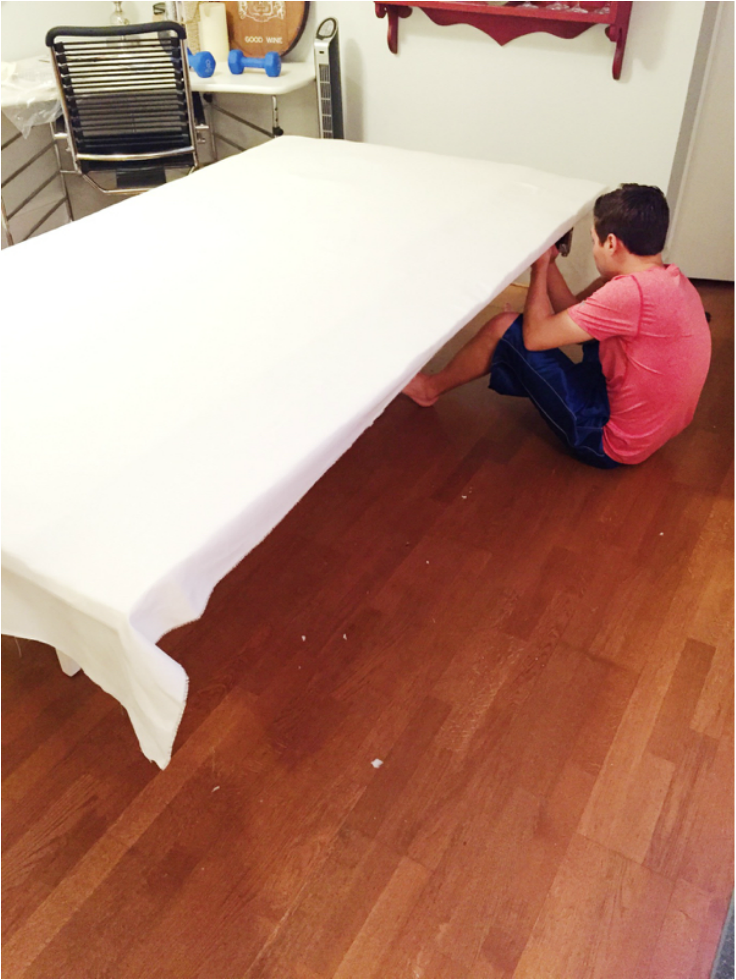
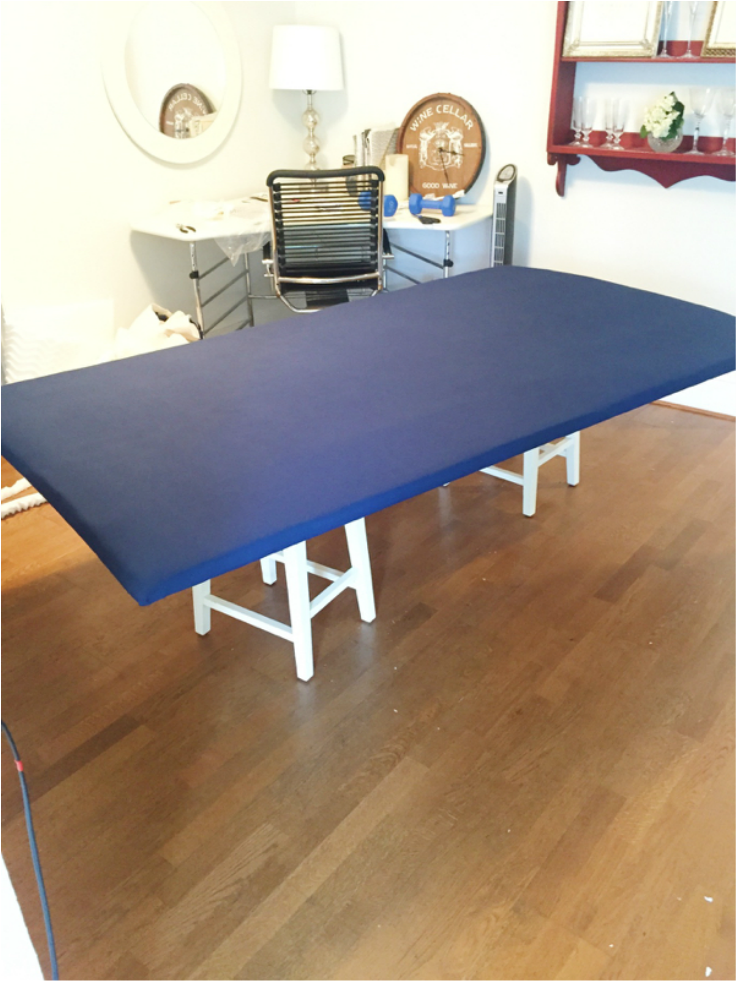
When cutting the foam to fit the length and width of the board, it helps to lay the board on top to put some pressure on the foam. We used the two full toppers next to each other to cover the whole board, but ideally we should've gotten a queen size and done two of them for multiple layers. Would've given it a thicker, more expensive look. But I was trying to keep the spending down and we were still very happy with the thickness!
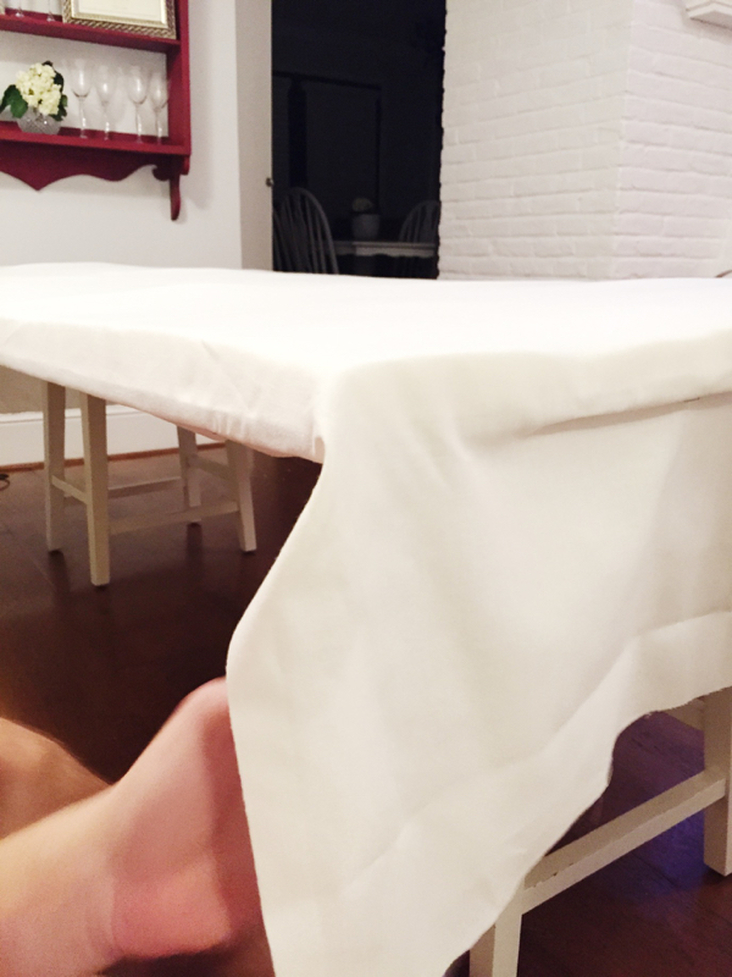
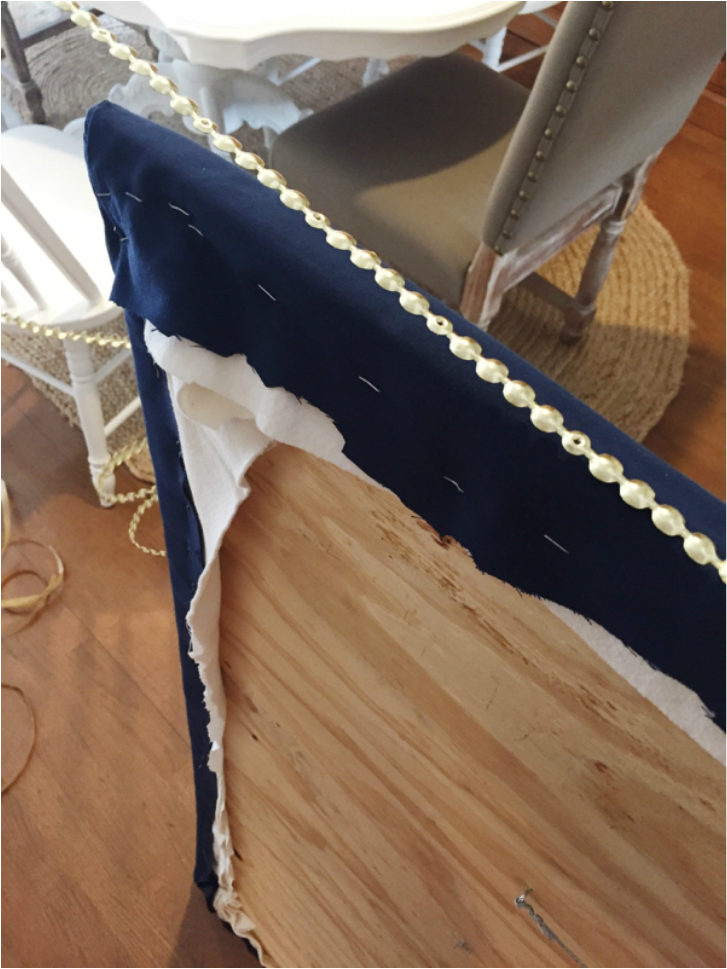
Here Karson is stapling on the cheap fabric to keep the foam in place for the final layer of navy material.
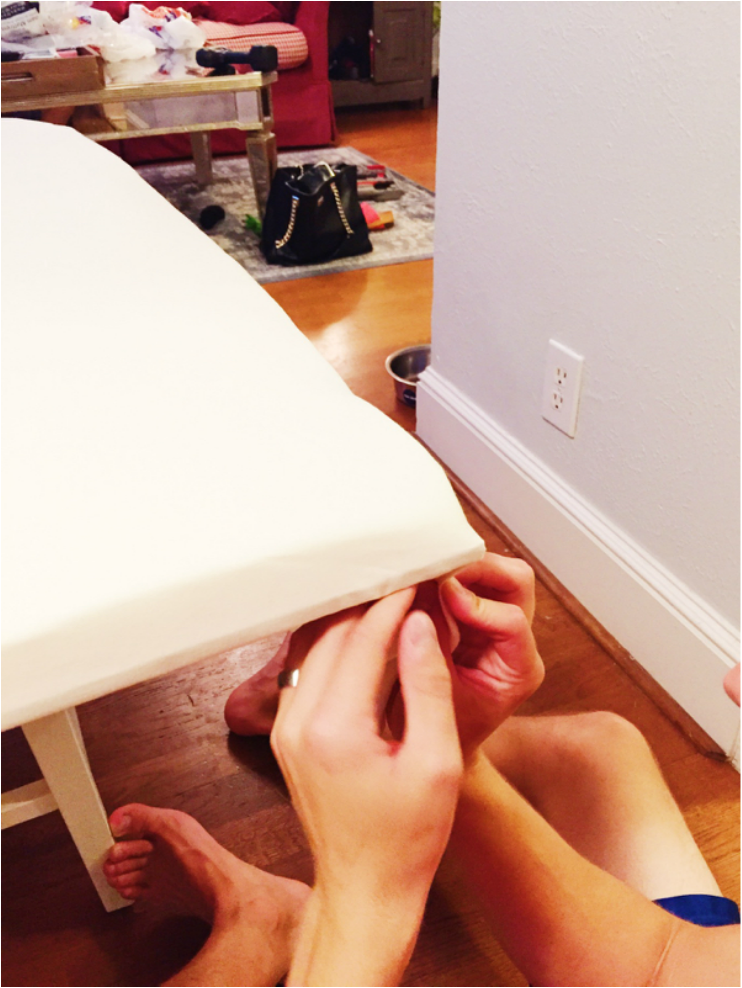
Folding corners can be tricky, but we found it easier to fold under the left side, staple and then fold the right side under and staple.
Repeat the last step with the fabric you bought for the exterior layer and get started on covering buttons with the left over material!
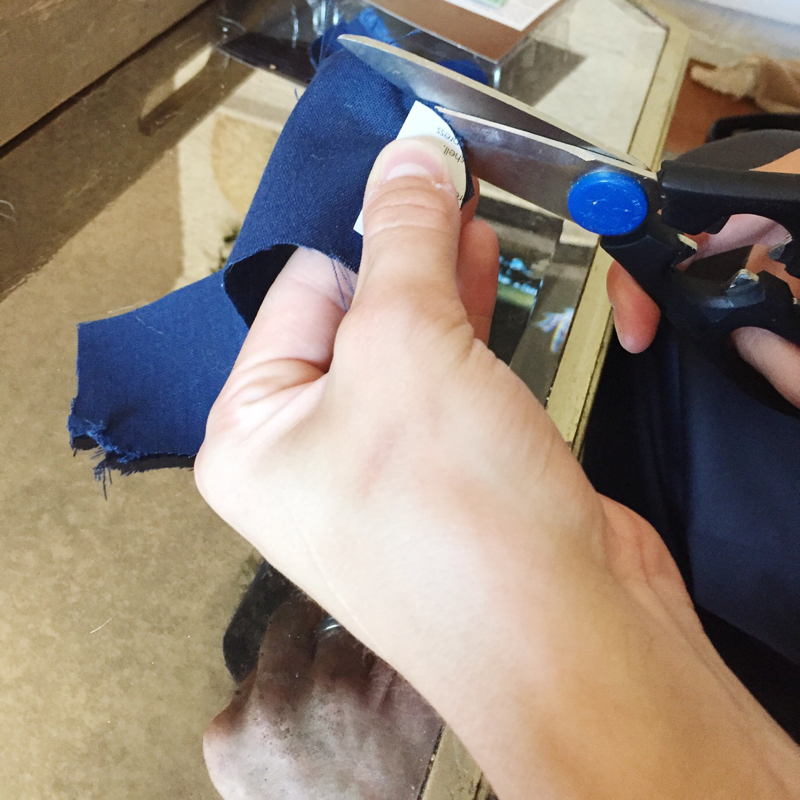
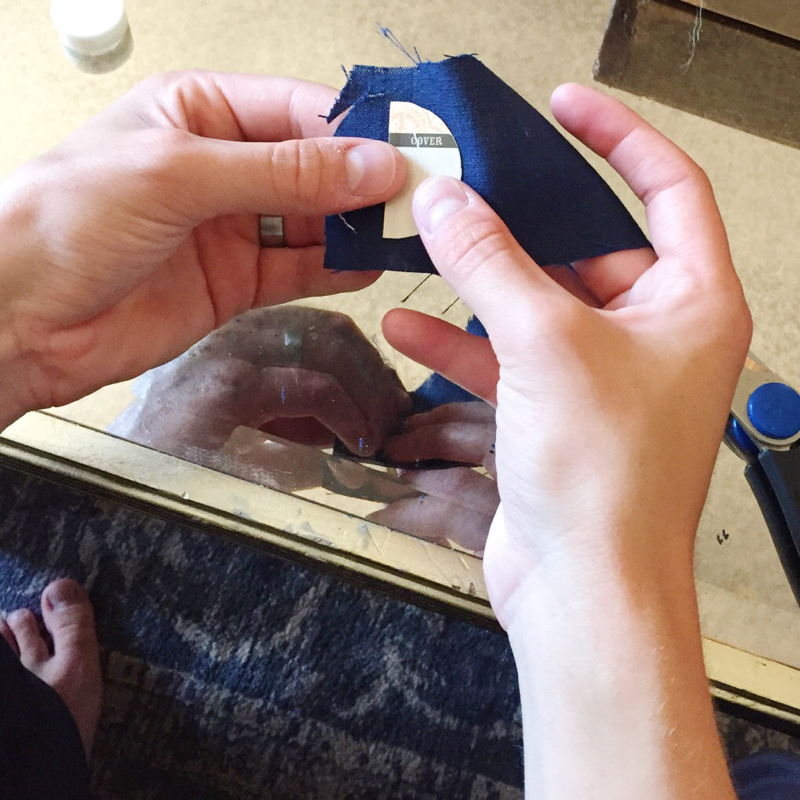
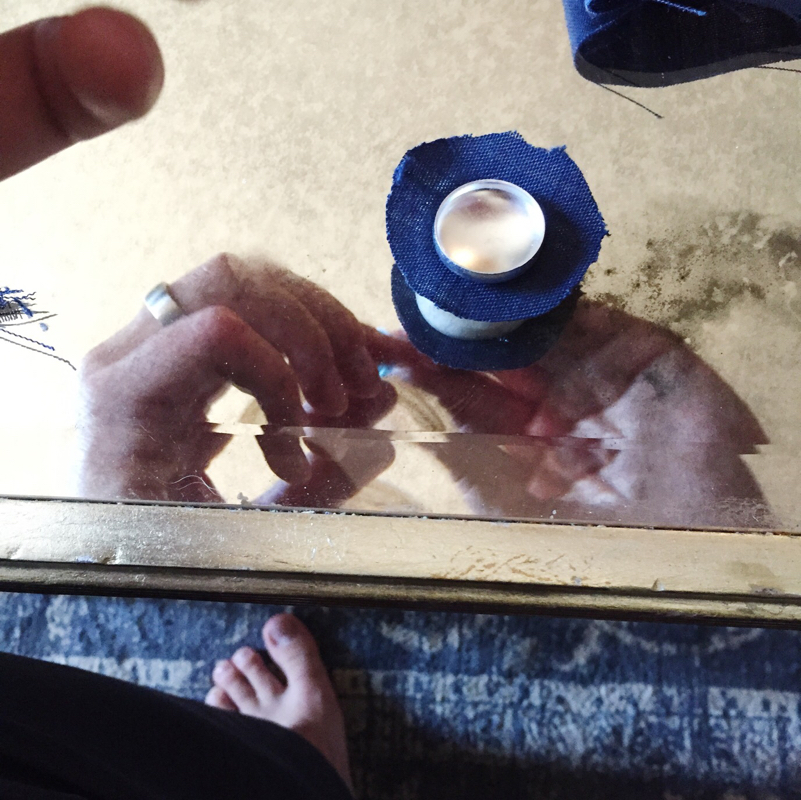
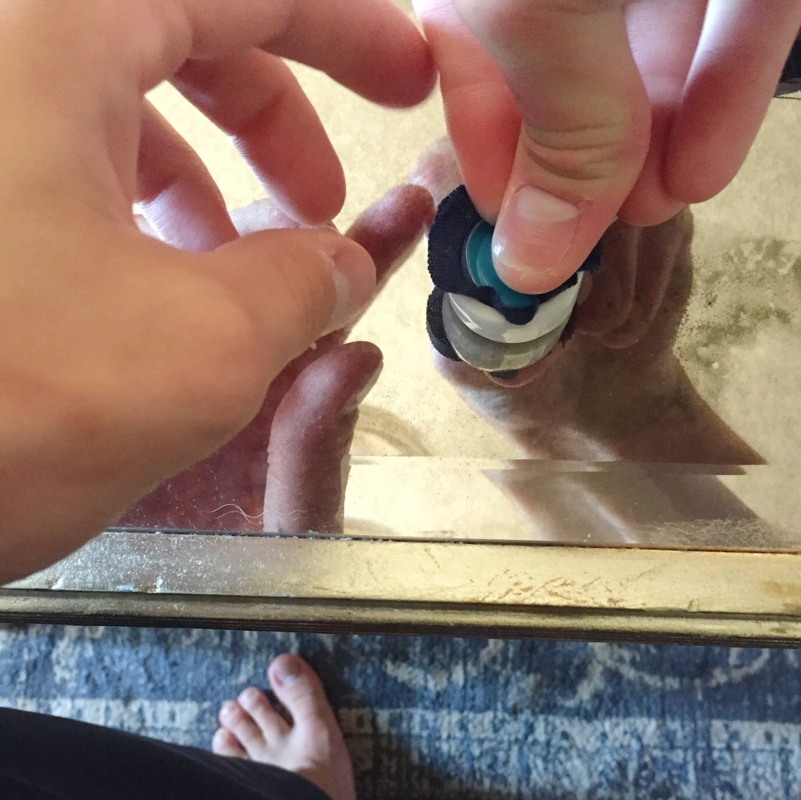
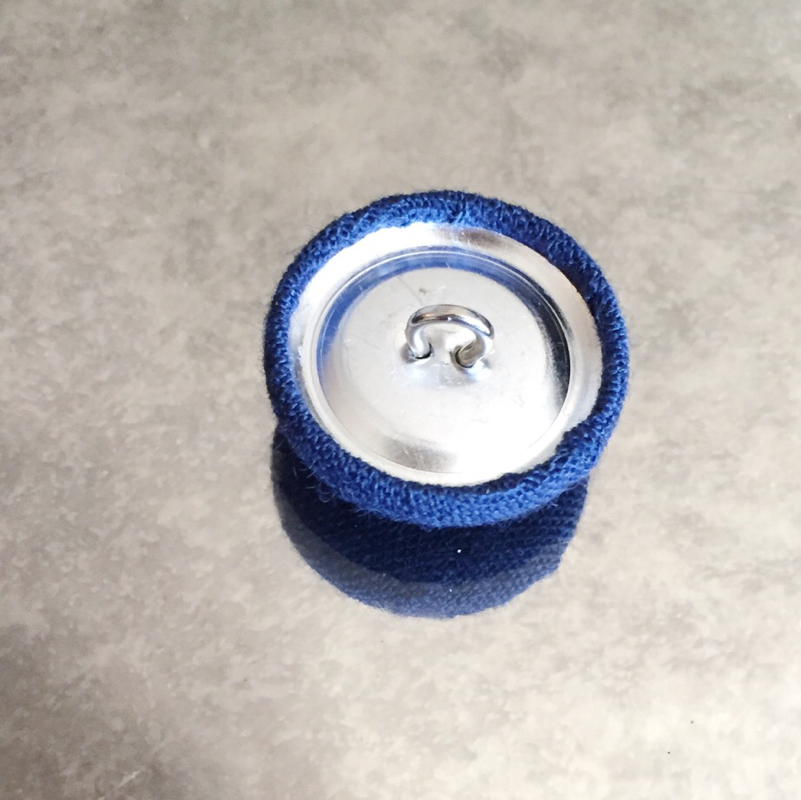
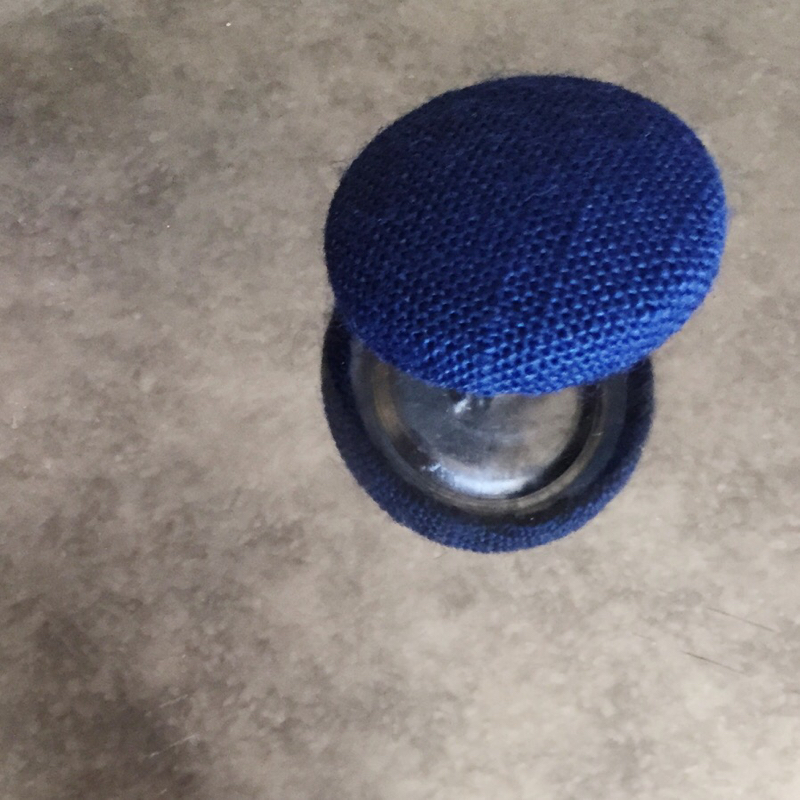
The button covering kit explains the steps for this process, but here are some pictures on how we did it above. Really not as hard as some other DIYers said it would be.
Once you've covered the buttons. put the waxed thread through the needle and tie a knot at the end of the string. The waxed thread really helps hold the button in place when you are pulling the thread back through to the back. Thread the needle through the already drilled holes and padding.
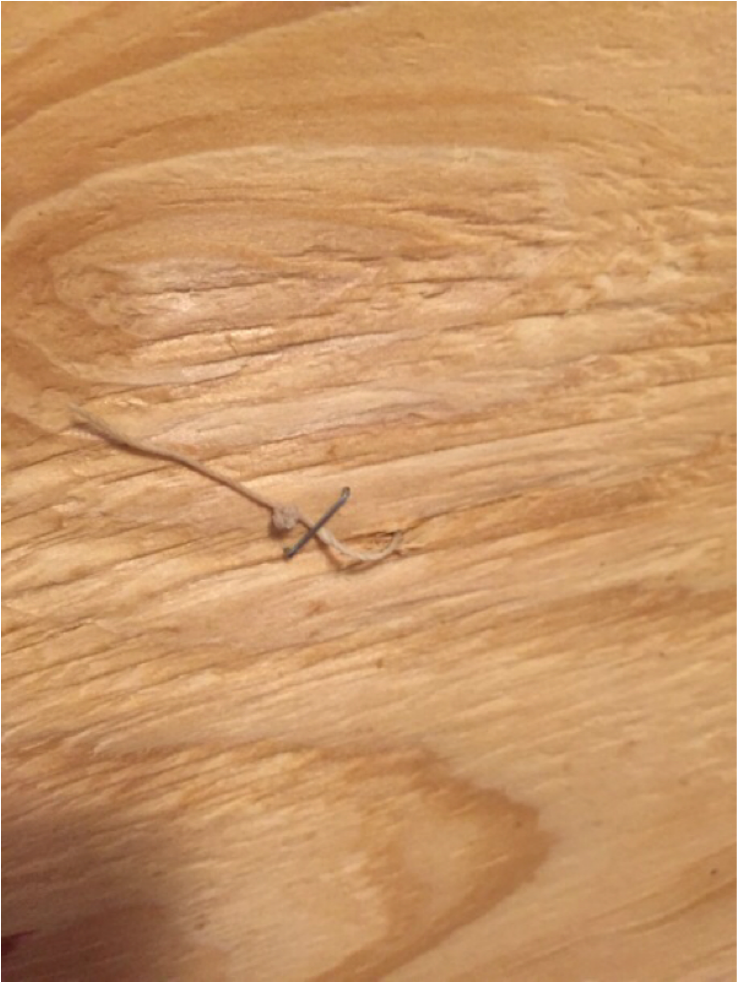
Staple the knotted end on the back of the headboard and hammer in place to keep it from sliding through.
Put the button on the thread and then put the thread back through the needle to push back through the padding and out the back of the board again. Pull tight to give it the pulled in look on the front!
After pulling the thread back through, I stapled again and tied a knot at the end again to hold in place.
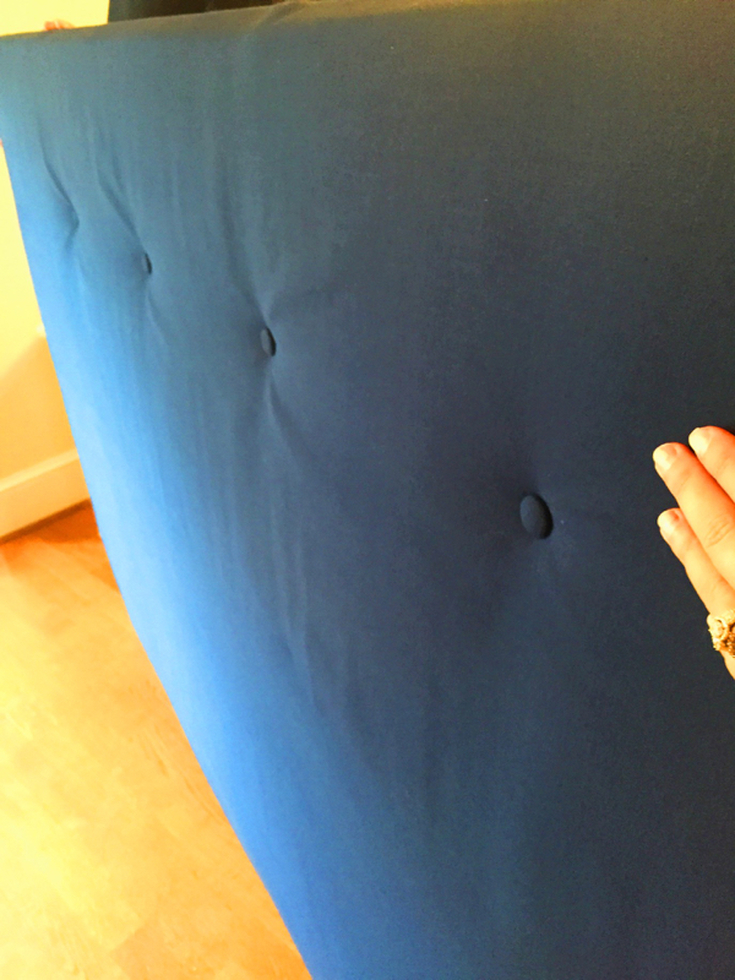
Repeat on all previously drilled holes!
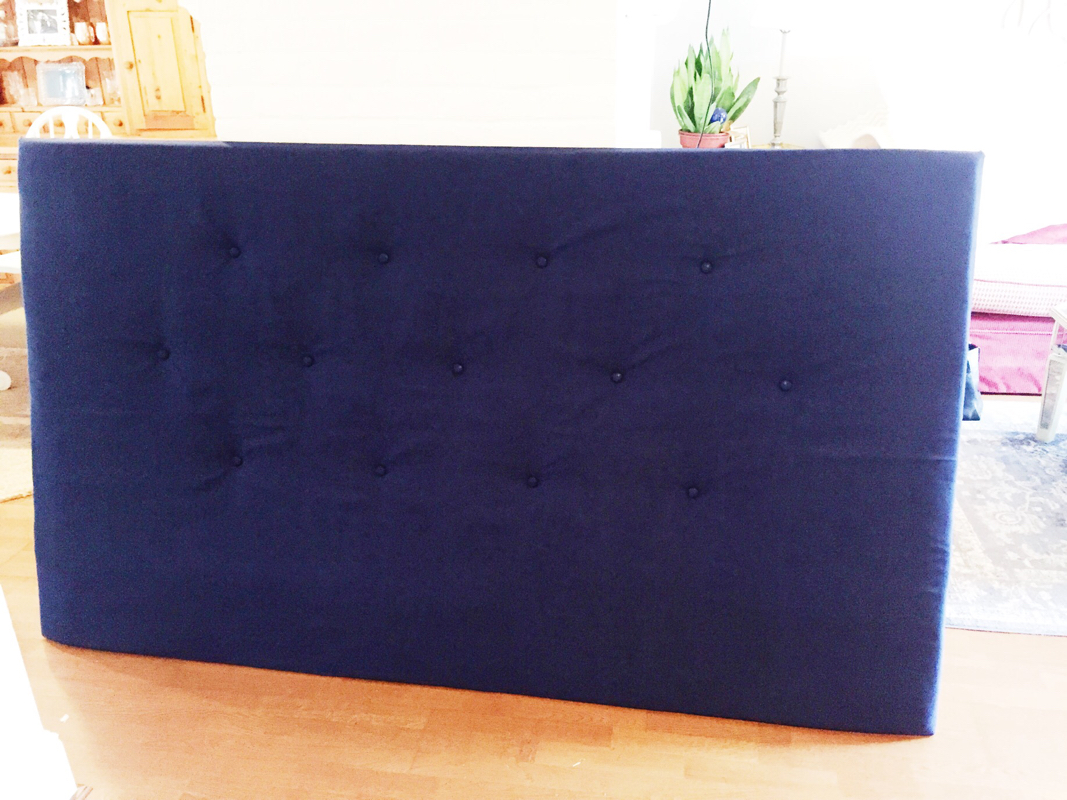
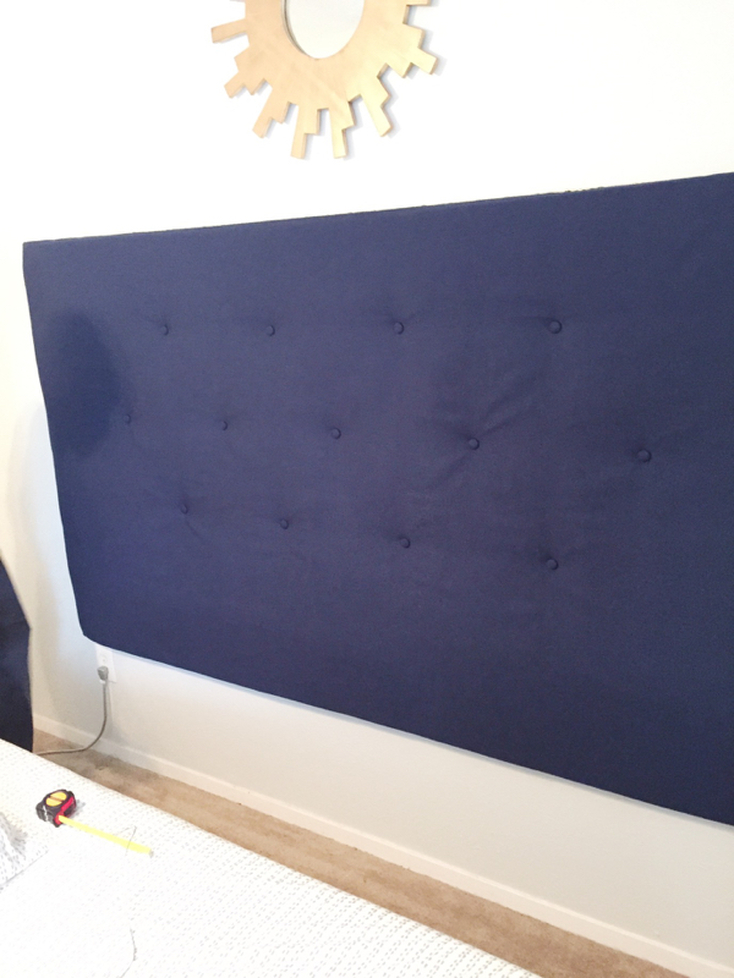
And we are done with that step! It could have used a 4th row, but since the pillows and mattress are blocking that portion, we saved ourselves the trouble.
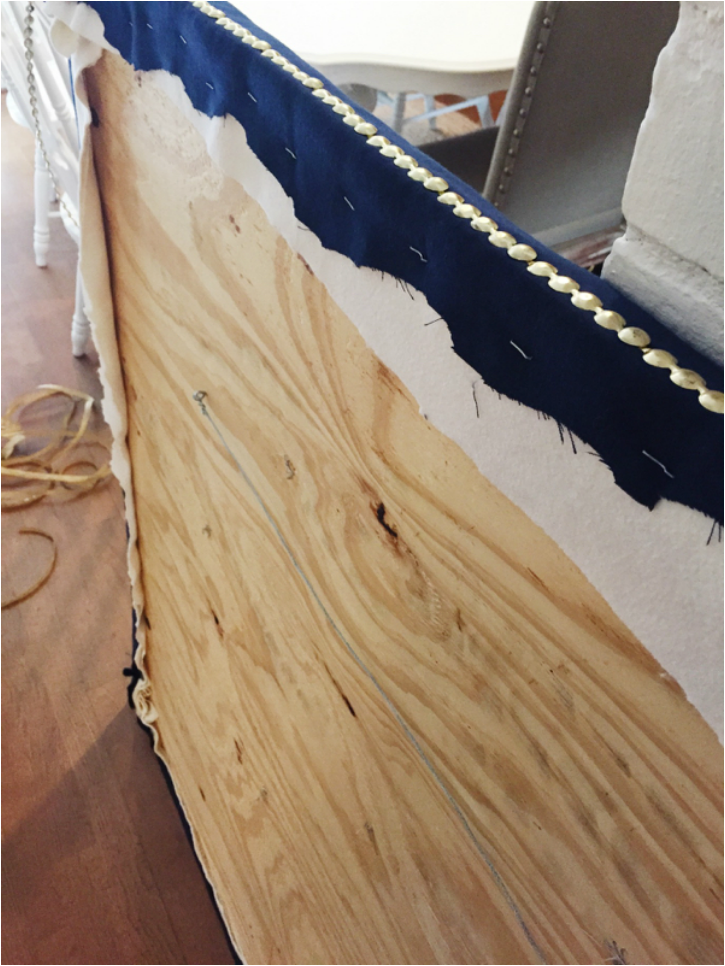
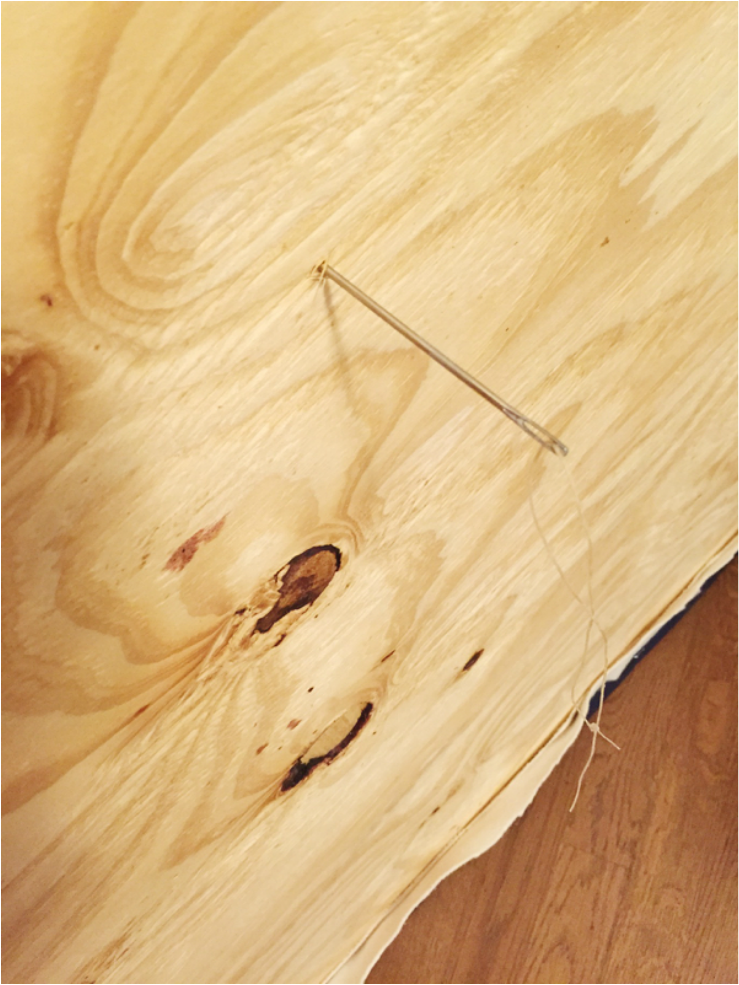
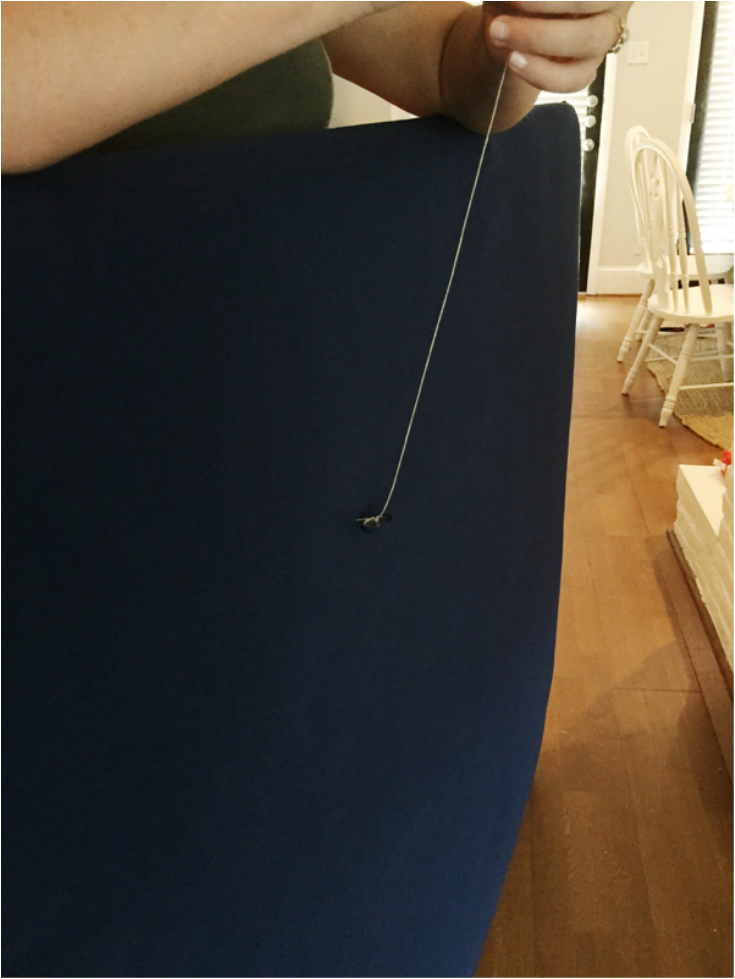
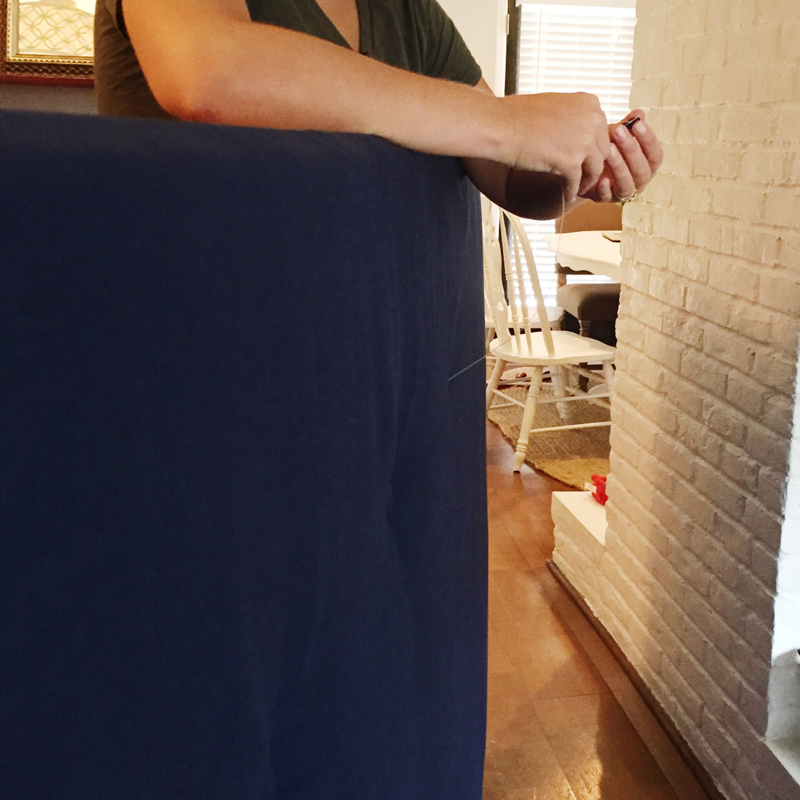
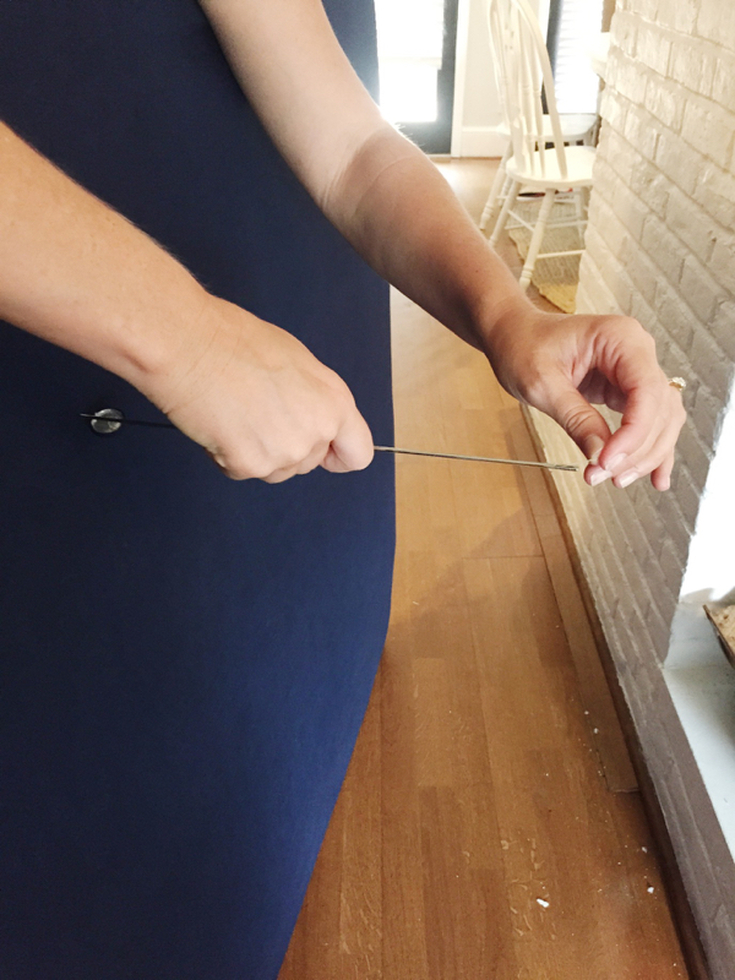
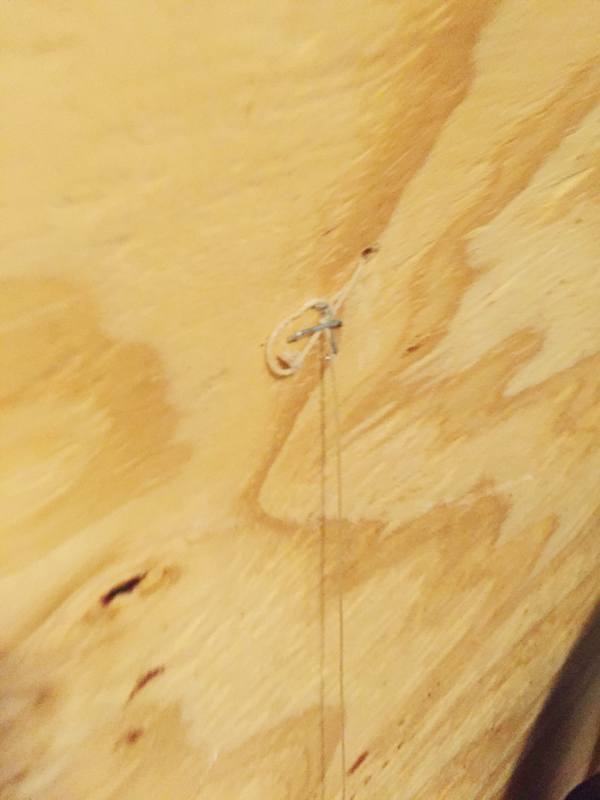
The back does not need to look pretty. We left it just like this and attached the metal string shown above to hang on the wall with picture hangers.
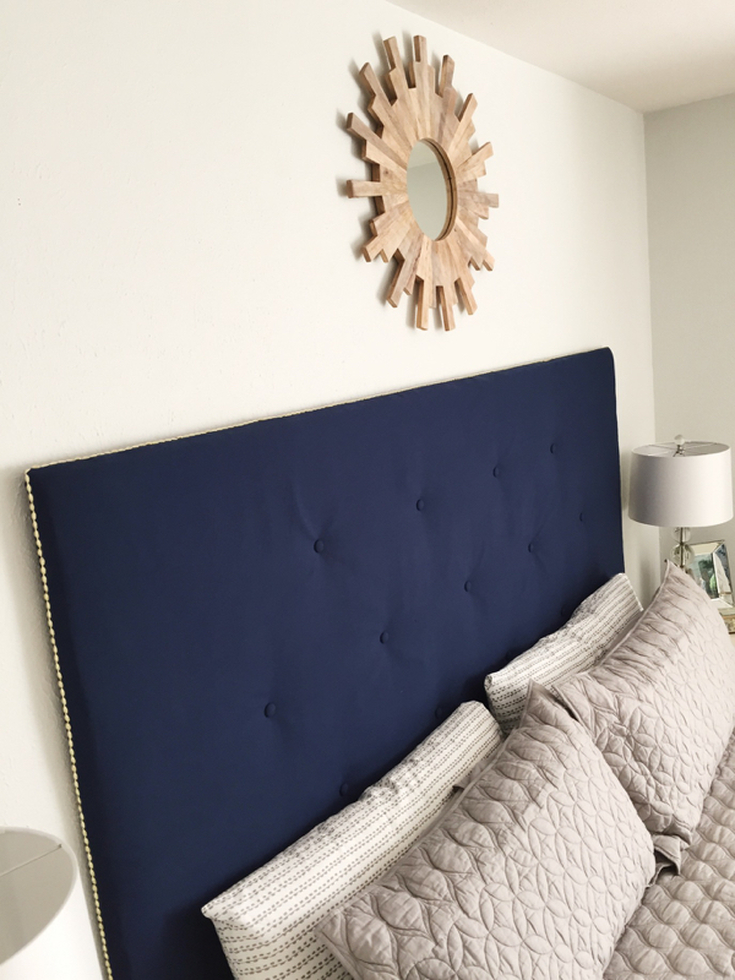
Putting on the nailhead trim was really quite easy. Just line it up with the 1/2 inch of wood on the sides and hammer into the holes the tacks that come in the package to keep the trim in place. Repeat steps all around the length of the headboard and your headboard is complete!
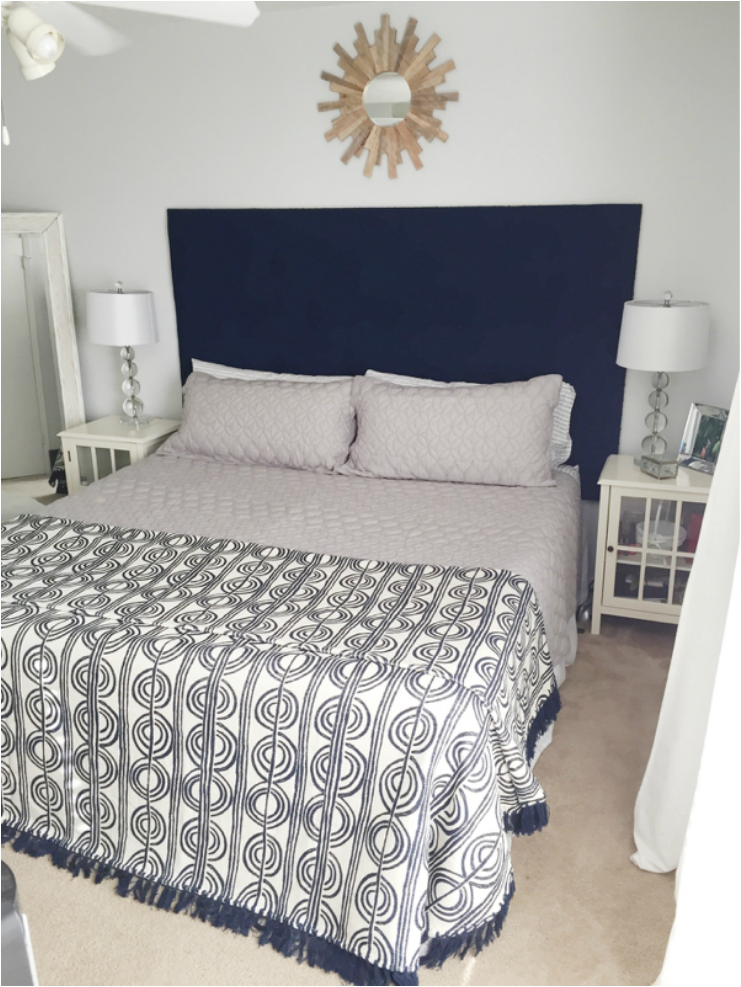
We are both so in love with the new headboard! The navy goes perfectly with my new grey and navy bedding from West Elm and really is a great statement piece for our neutral bedroom! Spending less than $150 on this project and only part of a weekend making it was well worth saving close to $800 or more on just buying one!
 RSS Feed
