Today I am sharing a quick way to make a big statement with a Eucalyptus garland. This is part of a project for a special piece my brother is making for our upcoming wedding and I can't wait to share the full, finished product! There are so many uses for a Eucalyptus garland beyond just our wedding decorations, so take a look at my "How To" and put it to use for your next party or holiday decorating!
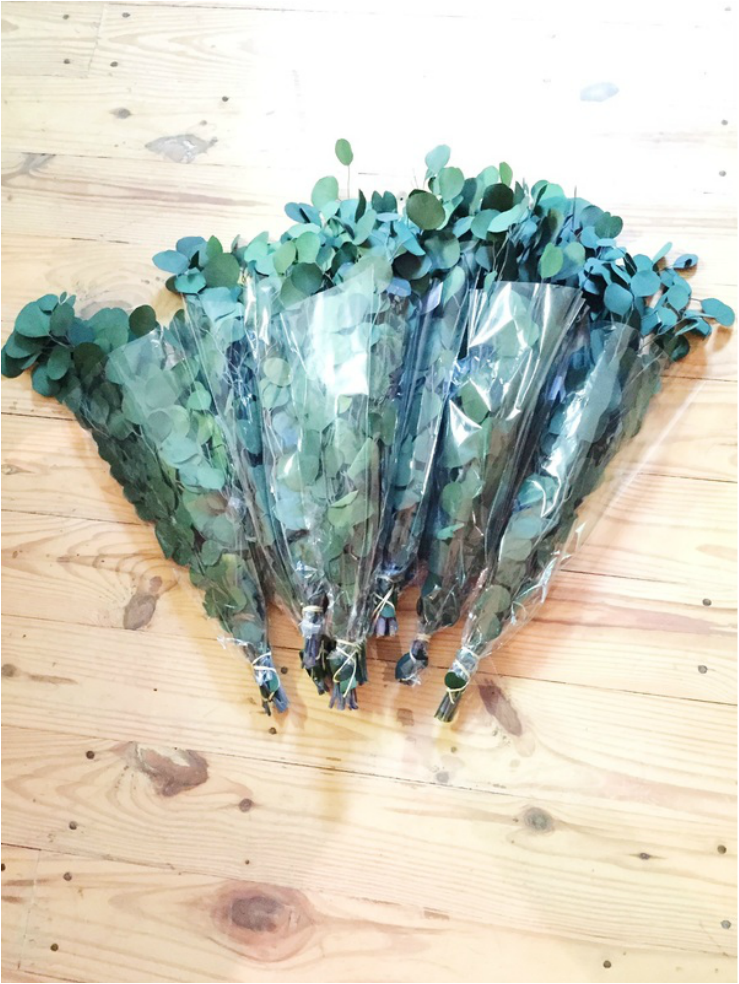
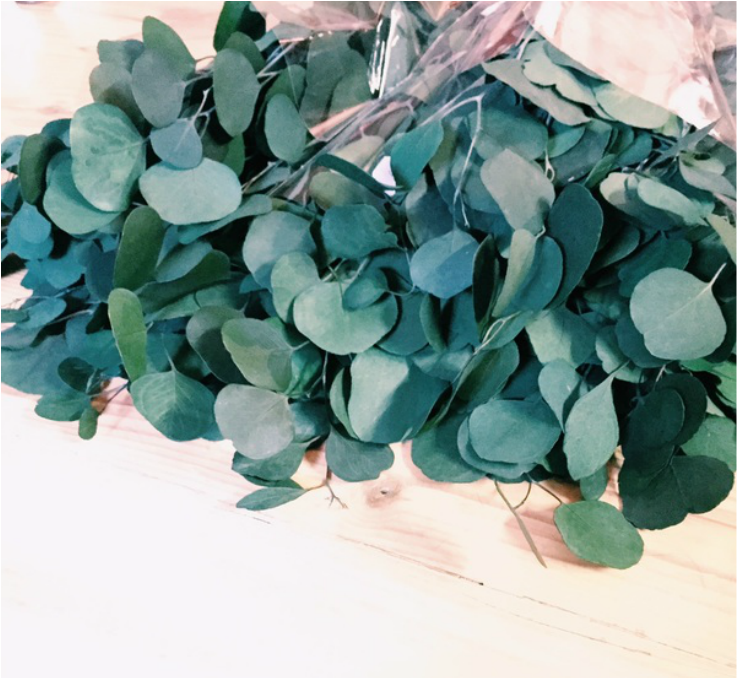
First, we bought 10 bunches of Eucalyptus branches from Hobby Lobby. (It's even on sale right now!)
We didn't end up using all 10, just 9, which may have been a bit over kill. It was originally decided on 10 to begin with since we needed it 10 feet long for the project, but I was able to space it out long enough to cut the amount down.
We didn't end up using all 10, just 9, which may have been a bit over kill. It was originally decided on 10 to begin with since we needed it 10 feet long for the project, but I was able to space it out long enough to cut the amount down.
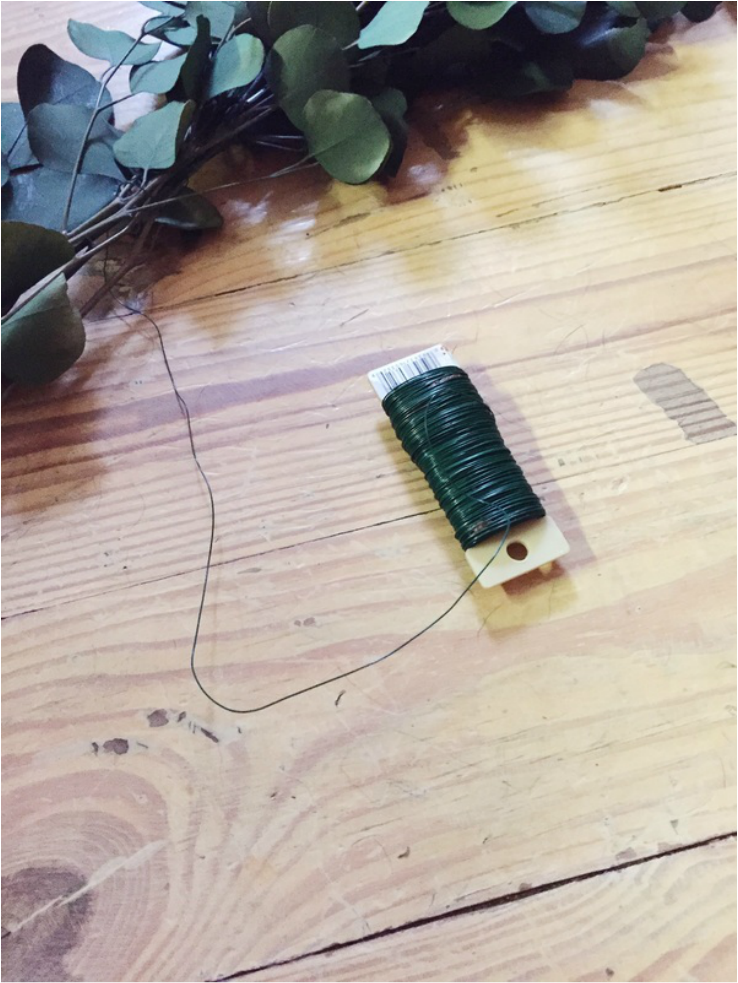
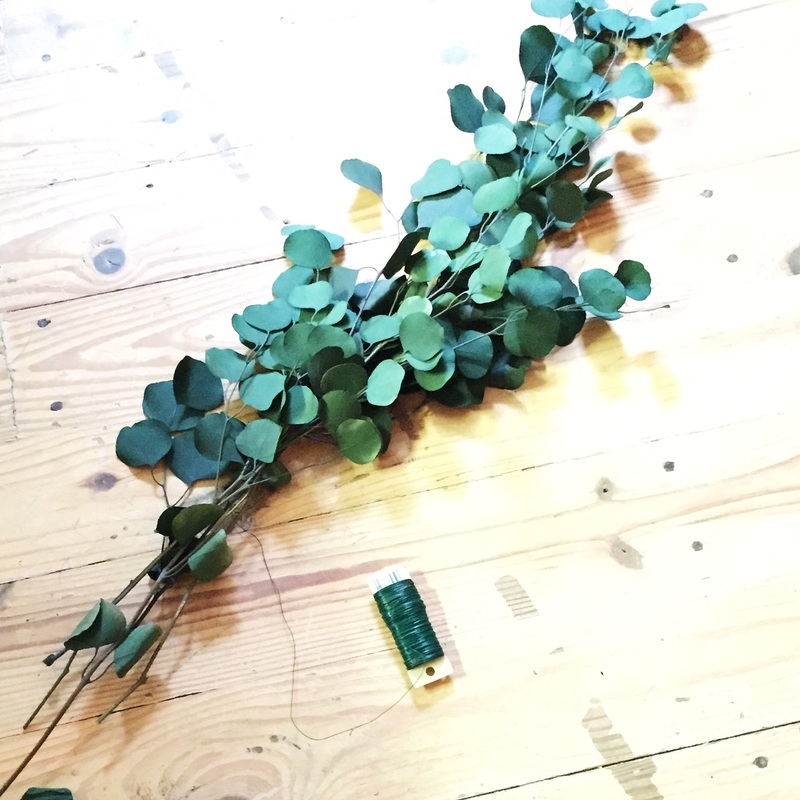
Next you will need padding wire. I found this green option at Michael's to help it blend in with the branches. Other than that, all you need are some wire cutters and you are ready to start!
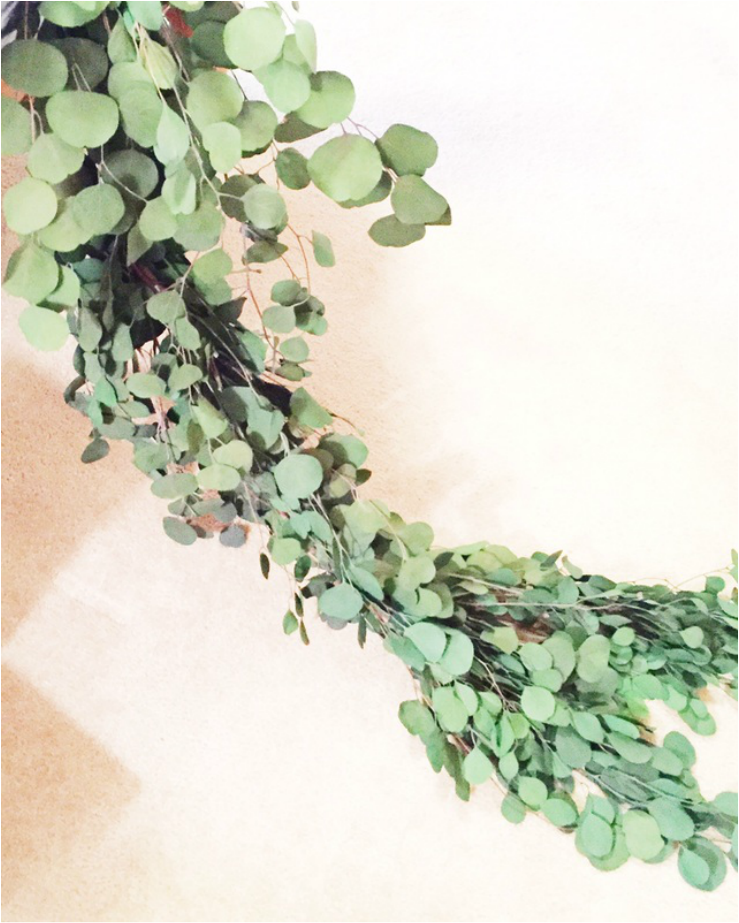
I simply started by placing a few branches together, trying to extend the leafy portion as far out as needed while keeping the thickness, and started wrapping the wire around the branch. From there I kept extending the branches added on to get the length I wanted while adding in a few here and there to keep up the thickness. Once I got it to the length needed, I just added in any extra branches where it was looking a bit thin. Didn't take me more than an hour or so!
I simply started by placing a few branches together, trying to extend the leafy portion as far out as needed while keeping the thickness, and started wrapping the wire around the branch. From there I kept extending the branches added on to get the length I wanted while adding in a few here and there to keep up the thickness. Once I got it to the length needed, I just added in any extra branches where it was looking a bit thin. Didn't take me more than an hour or so!
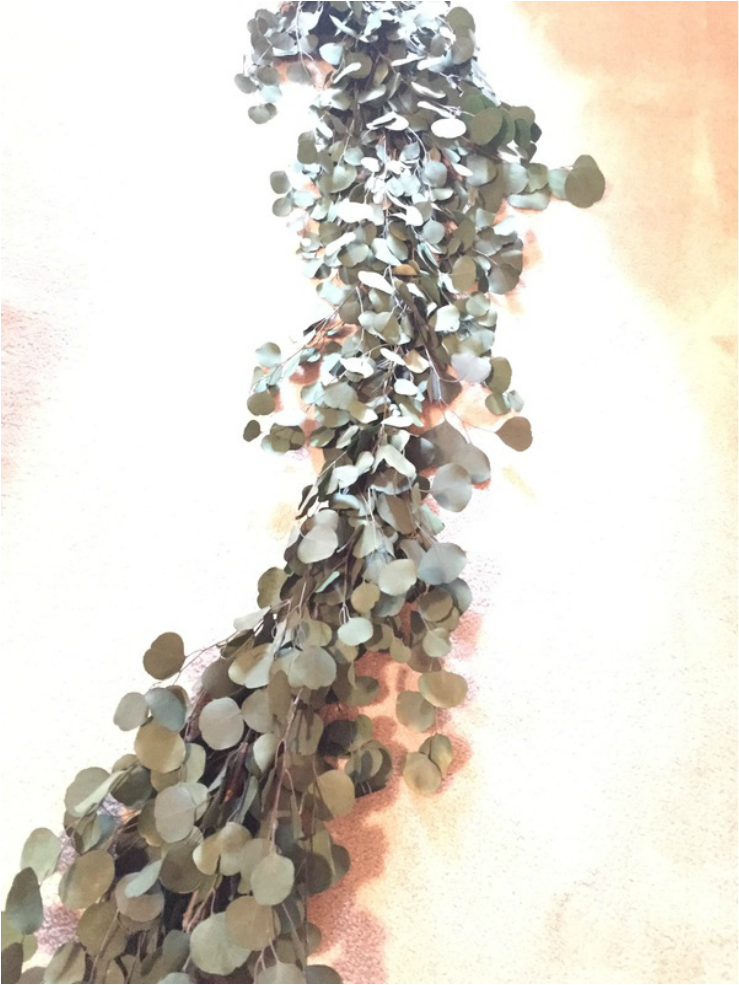
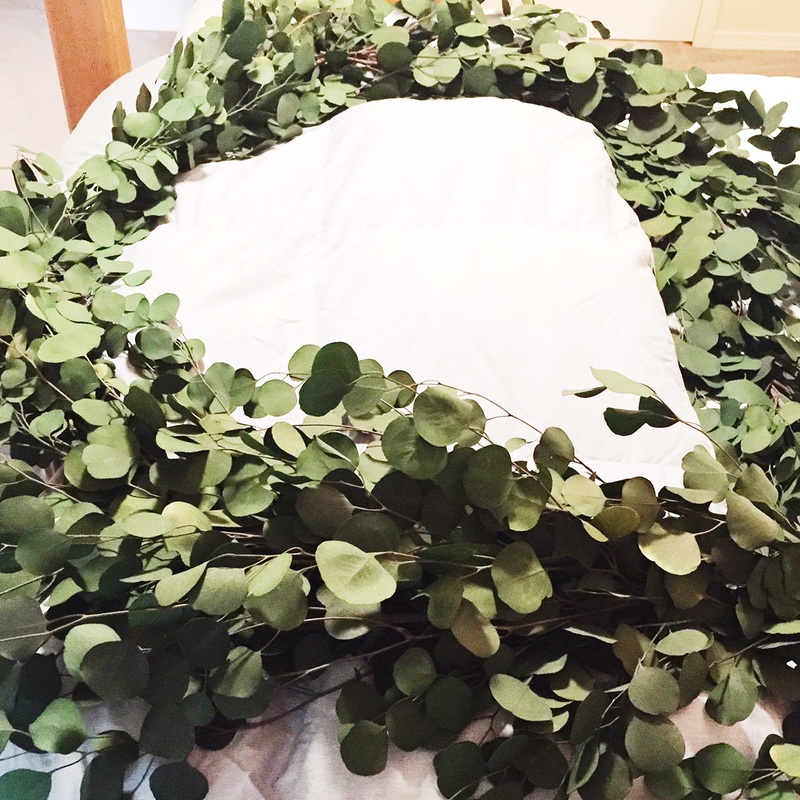
The finished product was exactly what I had hoped for! Now I plan to add a few colorful flowers here and there for the final project. Hope you all found this useful!
 RSS Feed
