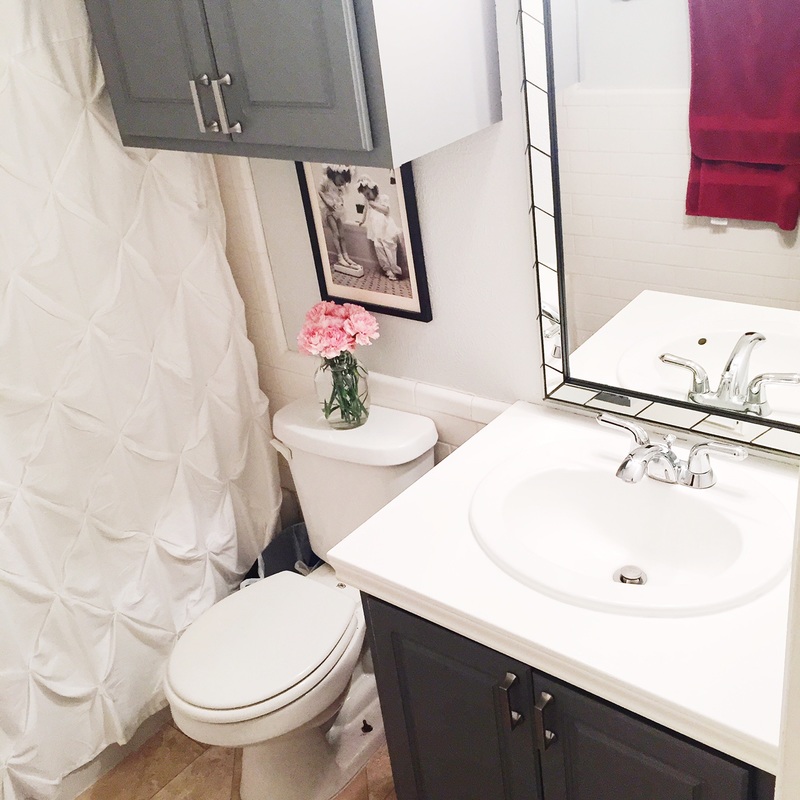
Karson and I went through a bit of a remodeling streak after we purchased our condo this past fall. Our bathrooms were really the only rooms that needed some work, and we got started on them as soon as we could. The above photos are of the guest bathroom/Karson's space out in the hallway.
I did not have before photos here, but it looked pretty similar to the before photos below for my bathroom. We haven't had a chance to do a real overhaul and replace the vanity or put in new flooring. But we are pretty happy with the small changes we could make for now until we have more time to do the big updates later!
I did not have before photos here, but it looked pretty similar to the before photos below for my bathroom. We haven't had a chance to do a real overhaul and replace the vanity or put in new flooring. But we are pretty happy with the small changes we could make for now until we have more time to do the big updates later!
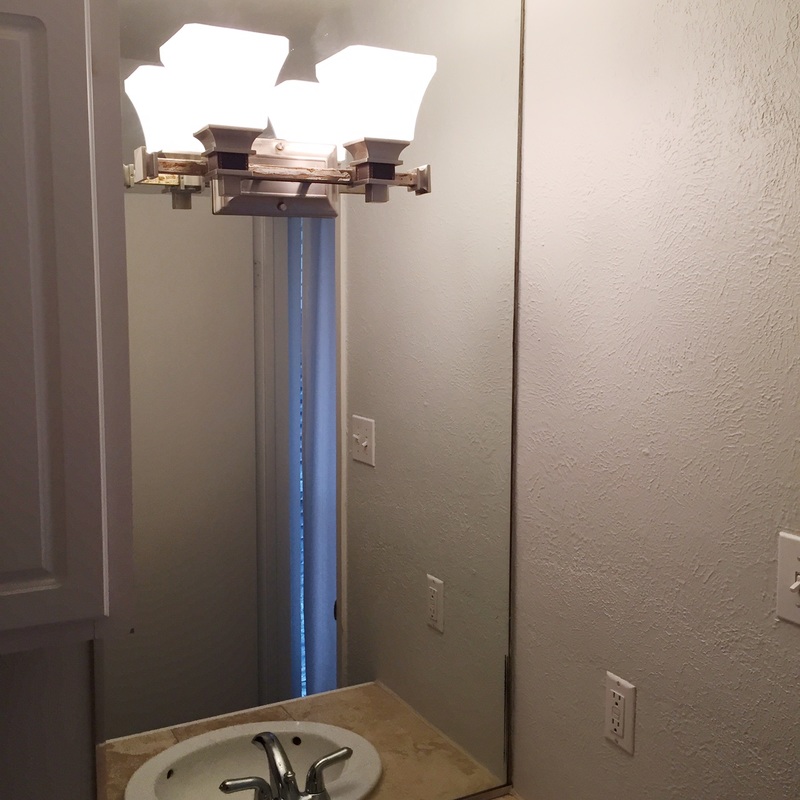
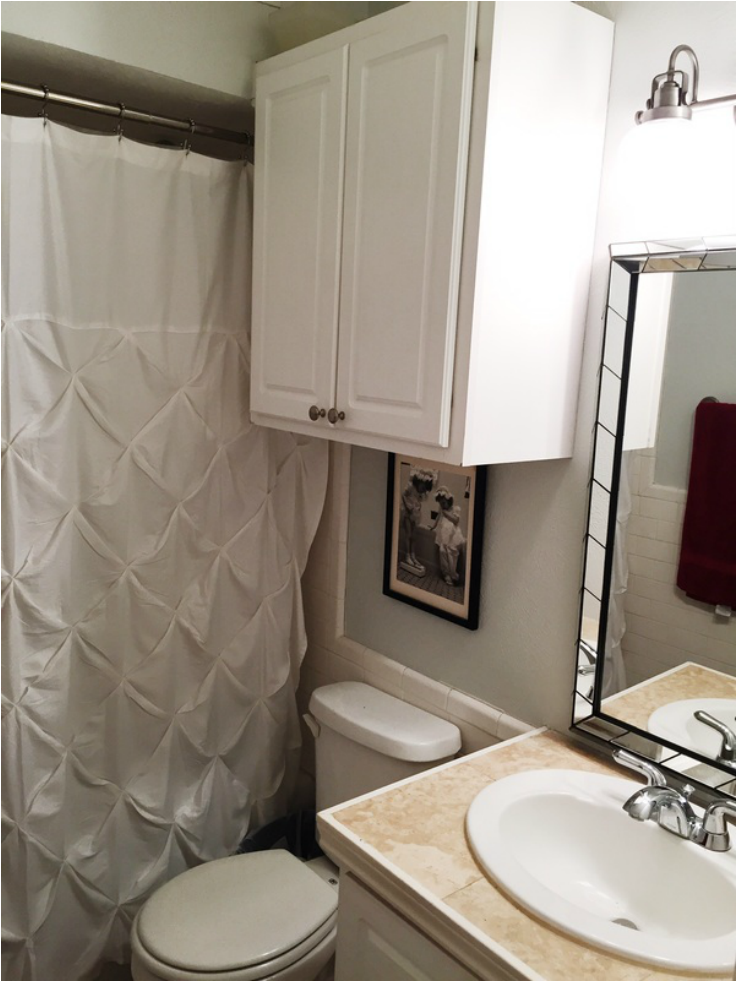
Above is the before photo of the sink/mirror area in my bathroom. As you can tell in all pictures, we didn't have a ton of space to work with, but we did what we could to make the small bathrooms more eye catching!
First we got gloves, glasses to protect our eyes, a crow bar and a hair dryer. After Karson turned off the electricity, he took down the clunky light fixture and tucked away the loose wires for the project ahead.
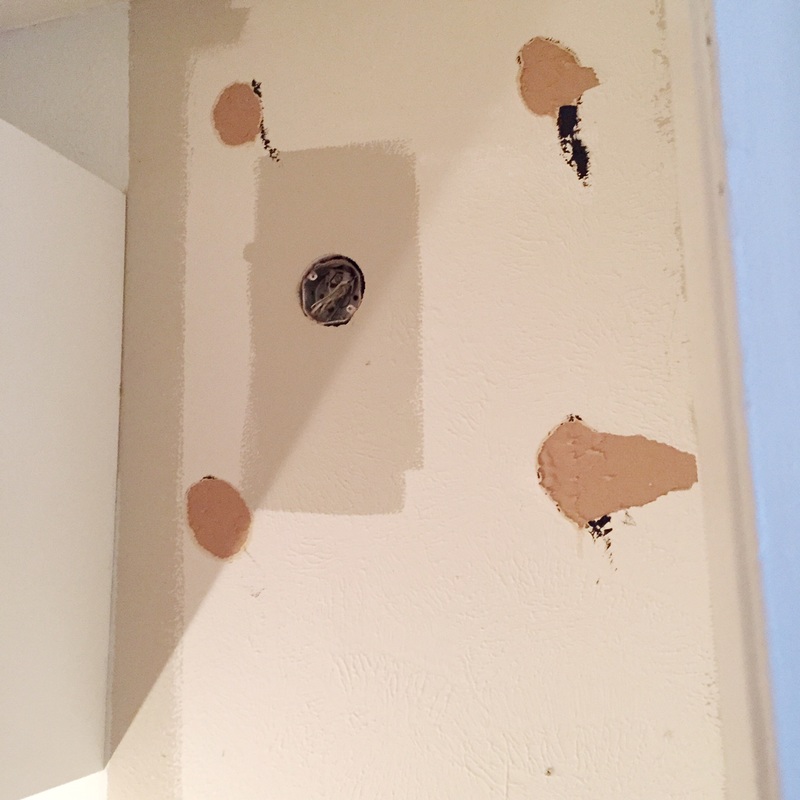
He used the hair dryer on high heat over the mirror for a while to help loosen up any glue behind the mirror. Looking online at how to remove mirrors from a wall made it seem like it would be a very grueling process, but we got very lucky and had the large mirror down in about 5 minutes in one piece! Simply using the crow bar to slowly peel the mirror off from top to bottom worked very well!
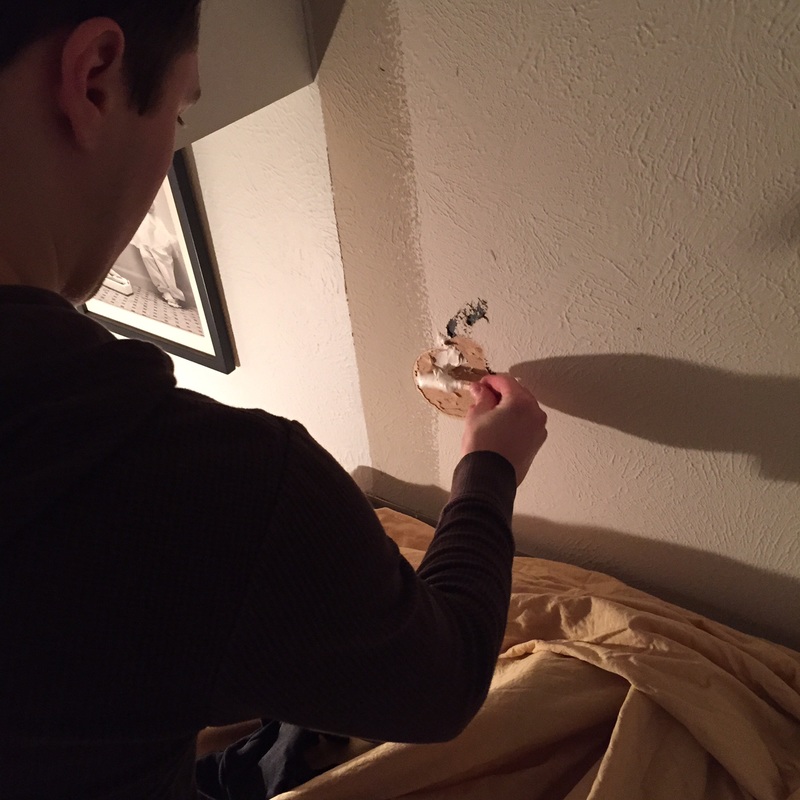
As you can see above, we had to use some spackle to fill in spots where the glue had peeled off some of the wall. We then painted over it and it was ready to hang the new mirror and light fixture!
First we got gloves, glasses to protect our eyes, a crow bar and a hair dryer. After Karson turned off the electricity, he took down the clunky light fixture and tucked away the loose wires for the project ahead.
He used the hair dryer on high heat over the mirror for a while to help loosen up any glue behind the mirror. Looking online at how to remove mirrors from a wall made it seem like it would be a very grueling process, but we got very lucky and had the large mirror down in about 5 minutes in one piece! Simply using the crow bar to slowly peel the mirror off from top to bottom worked very well!
As you can see above, we had to use some spackle to fill in spots where the glue had peeled off some of the wall. We then painted over it and it was ready to hang the new mirror and light fixture!
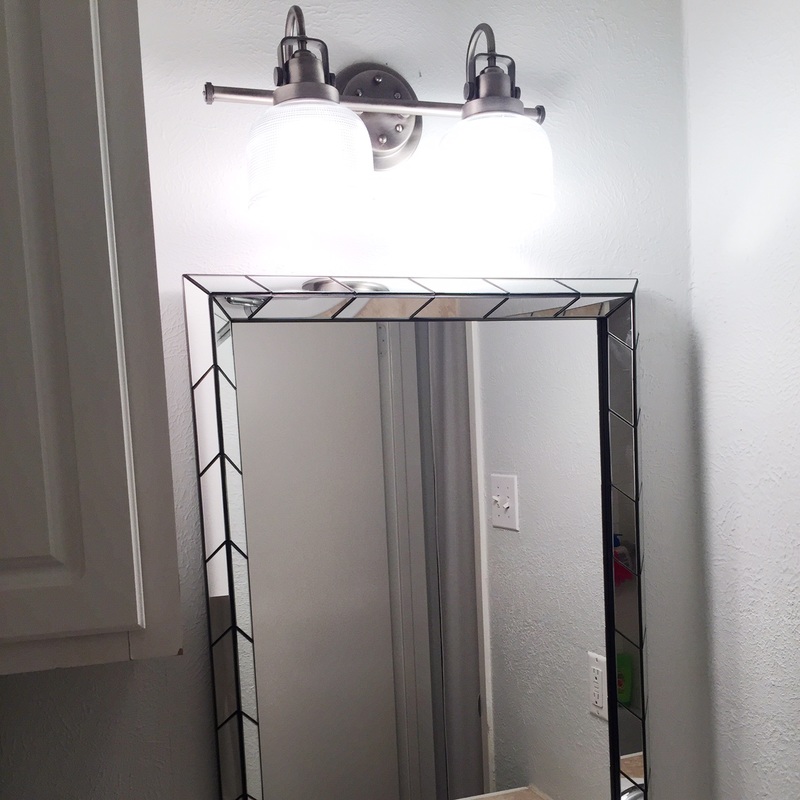
Here is a before photo of my bathroom after we had put in the new mirror and light fixture! Next was painting.
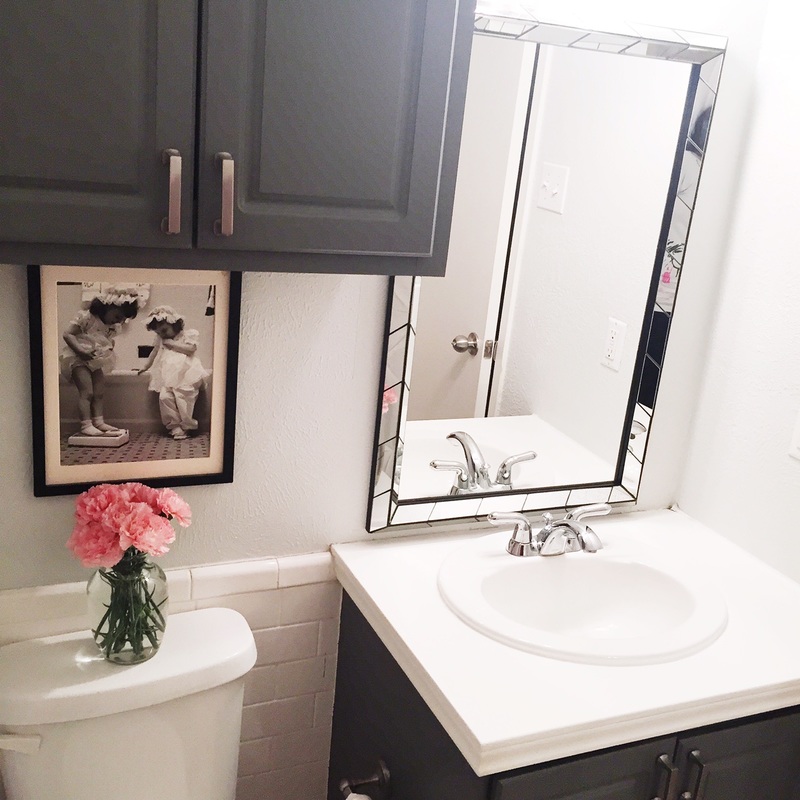
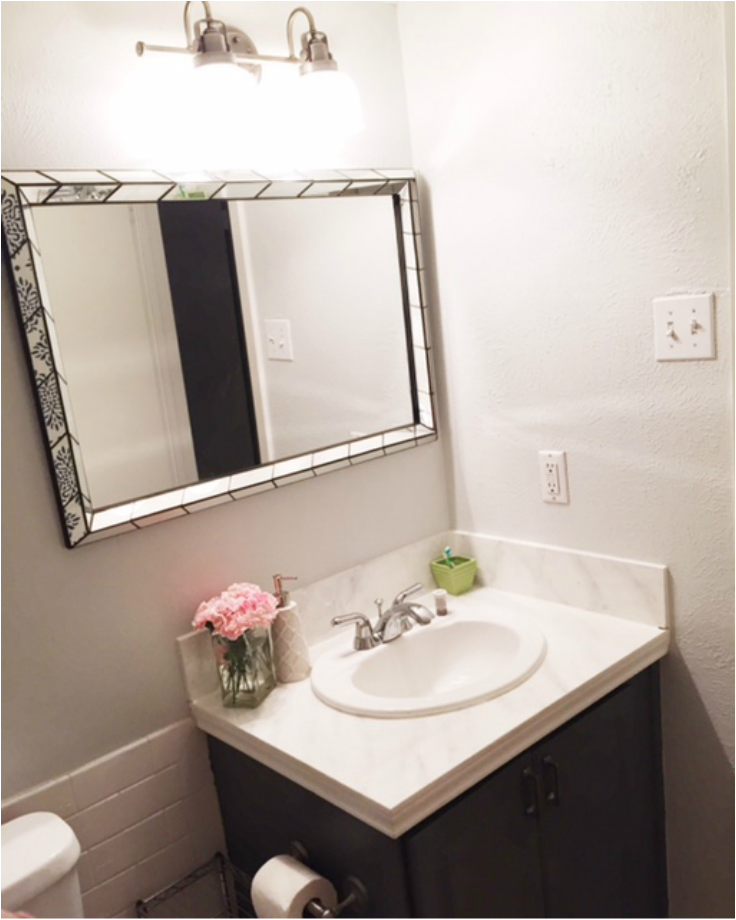
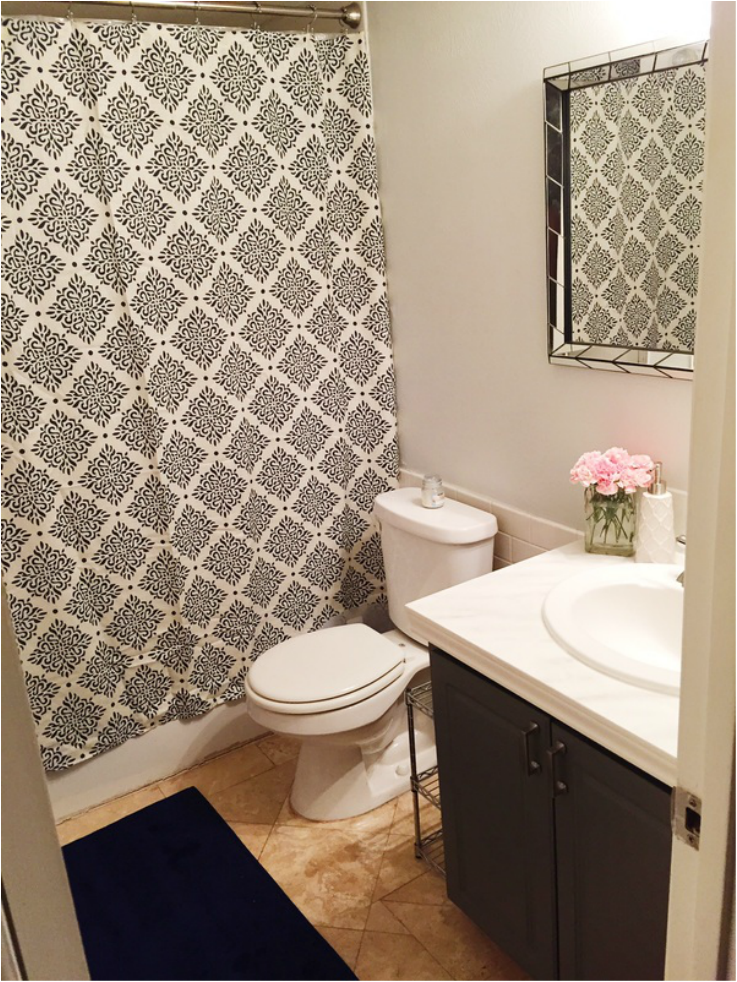
... and after! When everything was completed we had painted the bathroom walls, counter tops and cabinets, as well as replaced the mirror, light fixture above the sink and handles on the cabinets. We plan to replace our floors with a great dark wood after all of the wedding madness dies down, and I will add a few shelves and other touches to the guest bathroom when I find the perfect pieces!
The handles on the cabinets and light fixtures were found at Home Depot, while the awesome mirrors were purchased from West Elm.
The handles on the cabinets and light fixtures were found at Home Depot, while the awesome mirrors were purchased from West Elm.
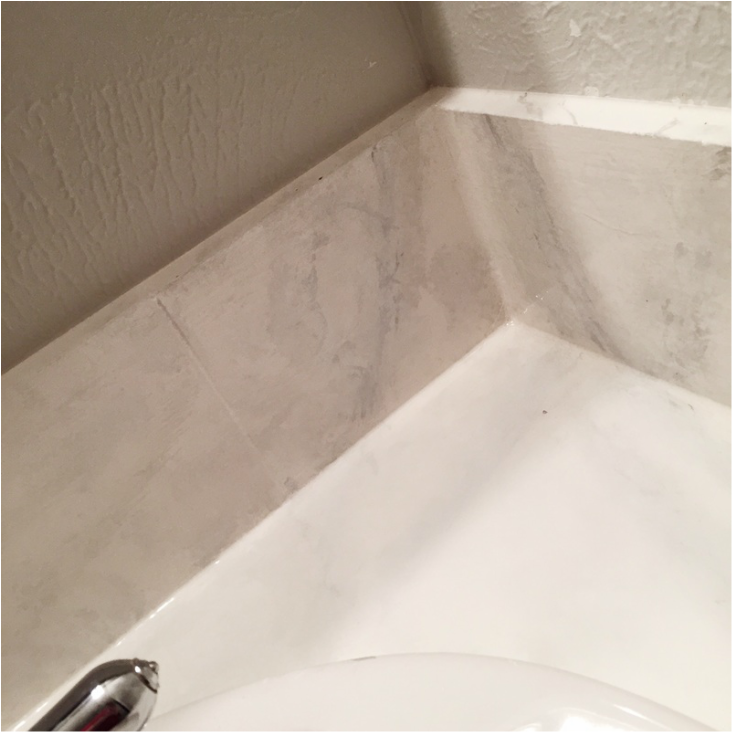
One of the changes that is commented on most by our guests is the awesome paint job Karson did on the counter tops. We wanted the look of Carrera marble, but obviously can not afford that at the moment. One day.... :)
Karson got online and found this link to a step by step process for getting the look with just paint, sponges, a few different brushes and feathers. I have to be honest, I was shocked with how great it turned out! Everyone who visits stares in awe once we tell them that not only is it not real marble, but that it was painted on. I knew he was pretty good with painting/drawing on his notepads, but never knew he could turn it into something to improve our condo! Major points for him!
Karson got online and found this link to a step by step process for getting the look with just paint, sponges, a few different brushes and feathers. I have to be honest, I was shocked with how great it turned out! Everyone who visits stares in awe once we tell them that not only is it not real marble, but that it was painted on. I knew he was pretty good with painting/drawing on his notepads, but never knew he could turn it into something to improve our condo! Major points for him!
 RSS Feed
